skip to main |
skip to sidebar
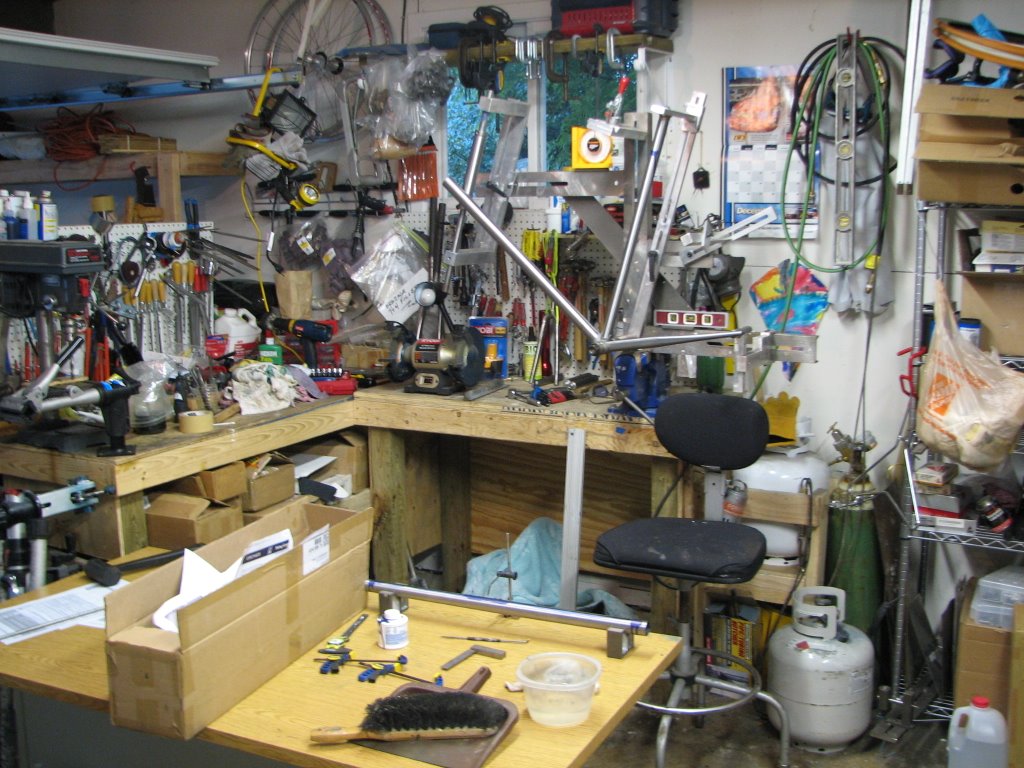
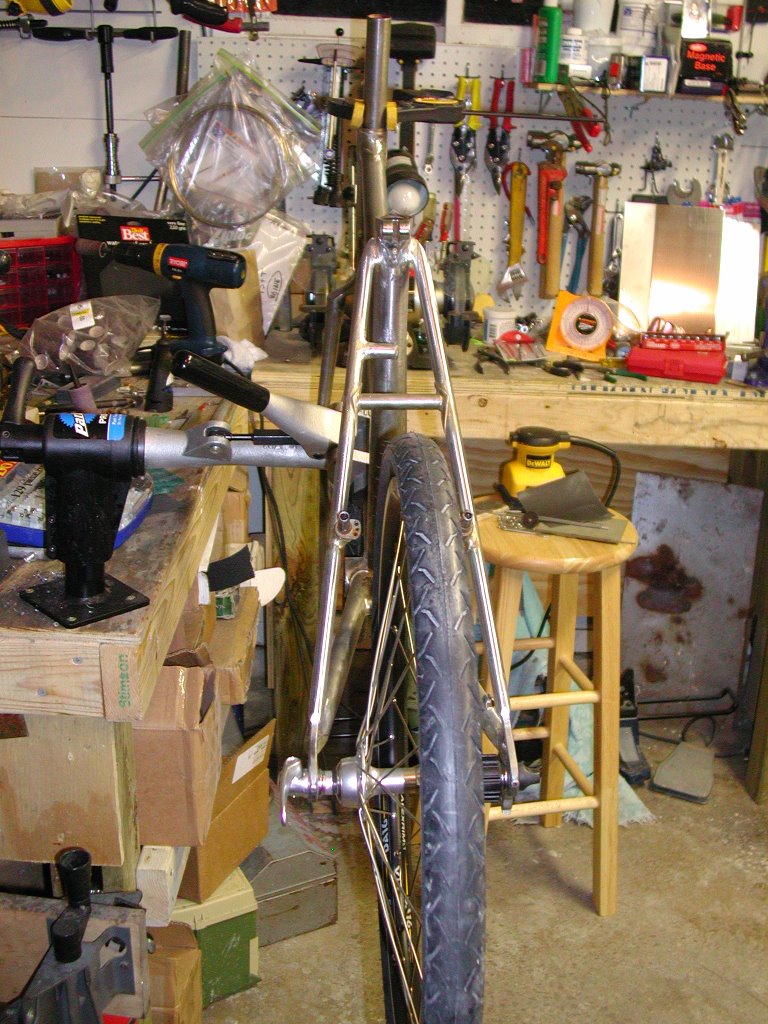
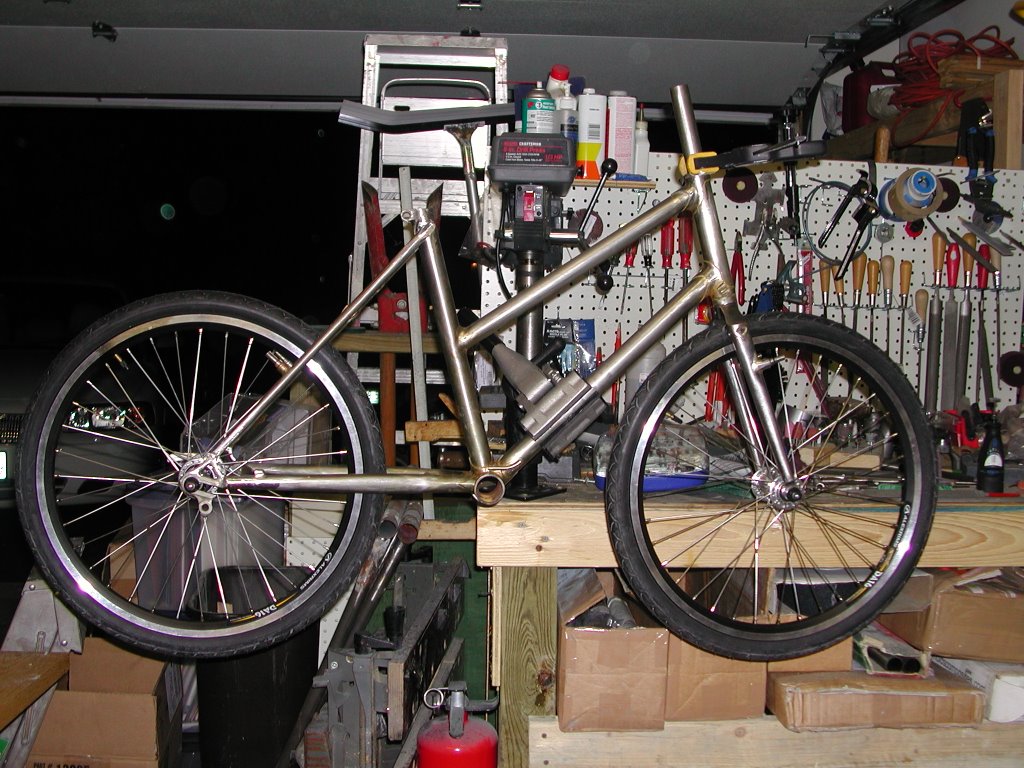
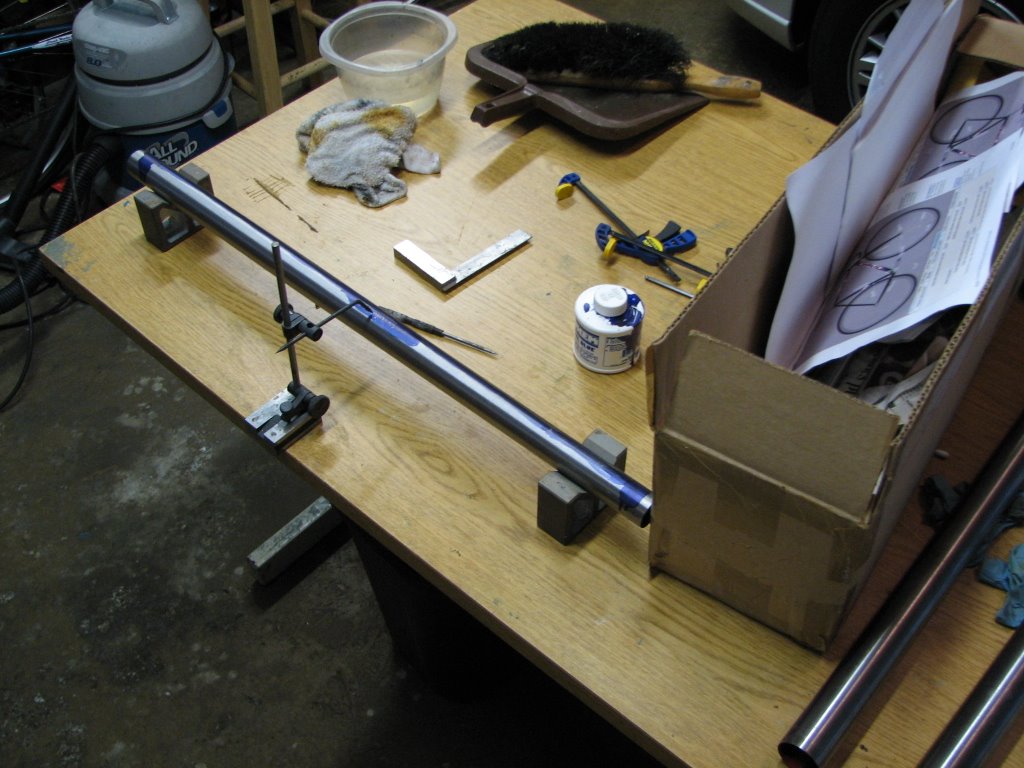
Now that Sarah's bike is off for painting - I can turn my attention to some other projects.I'm building a carbon frame won by one of the top 150 fundraisers at the 2006 MS150 Tour de Farms. This process has its own blog - so if your curious, look at: www.LindasNewBike.blogspot.com.Meanwhile, I'm getting serious about Aram's new track bike. The frame will be of silver filet construction except for a lugged bottom bracket. At first, it looked like the BB angles wouldn't work out with the limited (60mm) drop on this frame. Closer examination revealed that it has brass clearances - giving me a number of degrees of wiggle room for both the down-tube and chain-stays. None of the tubes are super light, so I'm not to concerned about using brass in the BB. The tubing is large diameter steel. The down-tube is 35mm, the head-tube is 36.5mm with a 1.2mm wall thickness, the top-tube is conical being 31.7mm diam in front and 28.6mm in back, and the seat-tube is 28.6 with an external buldge at the top (to help prevent heat distortion when connecting the top-tube and seat-stays). Oh yeah, the chainstays are ovalized for good clearances - so they'll probably get a bridge to stiffen things up. And for the seat stay bridge, I'm considering a polished stainless 3/8" tube. Do I really want to go through that polishing thing again? Hmm...The jig is up and I've been working on its fit. The overall design was refined on Martin Manning's design spreadsheet - good stuff, especially if one wants to be precise. This is a fast handling track bike. It's not a single speeder for the road. Aram is a serious and competitive racer, so we want to be very precise to avoid handling anomolies.Related to this, I'm going to deviate from my usual building sequence. The goal here is to create a strong and well aligned keel connecting the head-tube to the rear wheels. The first build will be chain-stays and then connecting them to the bottom bracket. This will be done with very careful attention to alignment. Then the head-tube/seat-tube will be put together, again with a critical eye on alignment. Finally, these two assemblies will be connected - with much fitting and testing to make sure that the head-tube is in a vertical plain aligned with the track of the bike, and that the track forks (the proper name for "drop outs" on a track bike) are perfectly parallel (on two axes), and equal distances from the ground and from the frame's center line. Once all this comes together, we're over the hard part.After fitting the jig, it was time to start working on tube prep. So far, I've washed out the insides of the head, top, and down tubes. This is necessary pre-brazing, but also makes it easier to read the butts inside the tubes. By looking through the tube at a light, and moving it around, one can see where the butts transition. By so doing, it possible to make sure that the ends of the tube were marked correctly (one end usually has a longer butt and this is the end from which to trim excess length).Then I set up some v-blocks on my reference surface along with a surface guage. If you're not familiar, a surface guage is a precision base with a post rising from it. A spindle is atached to the post and can be adjusted up/down & in/out. The post has a hinge at the bottom and a screw that delicately angles the top out or back. By adjusting the spindle close to an object, and then fine tuning with the post's screw, its possible to index a precise height from an object sitting on the same reference surface as the surface guage. By moving the guage around on the surface, one can compare heights from spot to spot.We're using this a little differently here. A tube is set in the blocks, and the surface guage is adjusted to the highest point in the tube at a location midway between the ends. Then the tube is rolled in the v-blocks to detect if and how much bend there may be in its length.The head-tube measured out fine, but its short so that's to be expected. Both the top-tube and down-tube have very slight bows. Not enough to be a problem, but enough that its important to be concious of the bows in order to insure the alignment of the finished product. For both of these tubes, the concave side of the bow will face down.Then it was time to refine the position of the head-tube. With most jigging systems, this is he most complicated part. Most jigs don't provide a way to fit fork into place, as a means of locating the head-tube. Often, the head tube is difficult to remove and replace to the same location. It will be on the same axis, but may have moved up or down along the axis. I go about positioning the head-tube from several different basis points so as to find any errors in my methods. The first method involves locating the top of the seat-tube and with a long level determining where the top of the head tube should be. The raw head-tube is too long, so there should be some extra sticking up above this point; this can be removed later. A second basis is to measure up from the datum line on the jig to it's front horizontal frame member. Then, it' possible to determine where the bottom of the head-tube should be relative to this new datum line, based on the design produced in Martin's spreadsheet. Using a vertical measure and a small level horizontally, it's possible to put a guage mark on the head-tube. From there, it's possible to measure up from the mark, parallel to the head-tube axis, to a fixed point on the frame holding the head-tube assembly. This point becomes a new datum point, and the measure is retained as a basis for where the lower head-tube should end. Again, there should be a little extra tube below this point. After adjusting the height of the tube, and double checking the measures for each end, it's possible to hold up the fork, parallel with the tube to the appropriate point. With a little help, a long straight edge, level, and a tape measure - its possible to compare the axle height to the rear axle height and then confirm that the drop to the center of the BB is correct.Once all of this is done, we're part way there. From this point, we need to establish where the head and down tubes intersect. In some degree, this can be done visually, but we're trying to be precise here. So we employ a protractor to check the angle between the down and seat tubes. when this is correct, we check the angle between the head and down tubes. If these comply with our design, and the spacing between the down-tube and planned bottom of the head-tube look good, we should be a go.So far, I've reached this point - but not marked anything. Next time around, I'll begin by confirming the basic measures as above. Then I'll add one more check. Holding the fork in place, I'll check the front center (that's the distance from the front axle center to the bottom bracket center. If all is good, I'll mark the vertical center of where the head and down tubes meet. I'll then do the same for the top-tube and head-tube. These will be aligned on a vertical line on the head-tube creating the point at which the breather holes will be drilled.As I said, locating the head-tube is one of the more complicated bits of preparing to braze a frame.
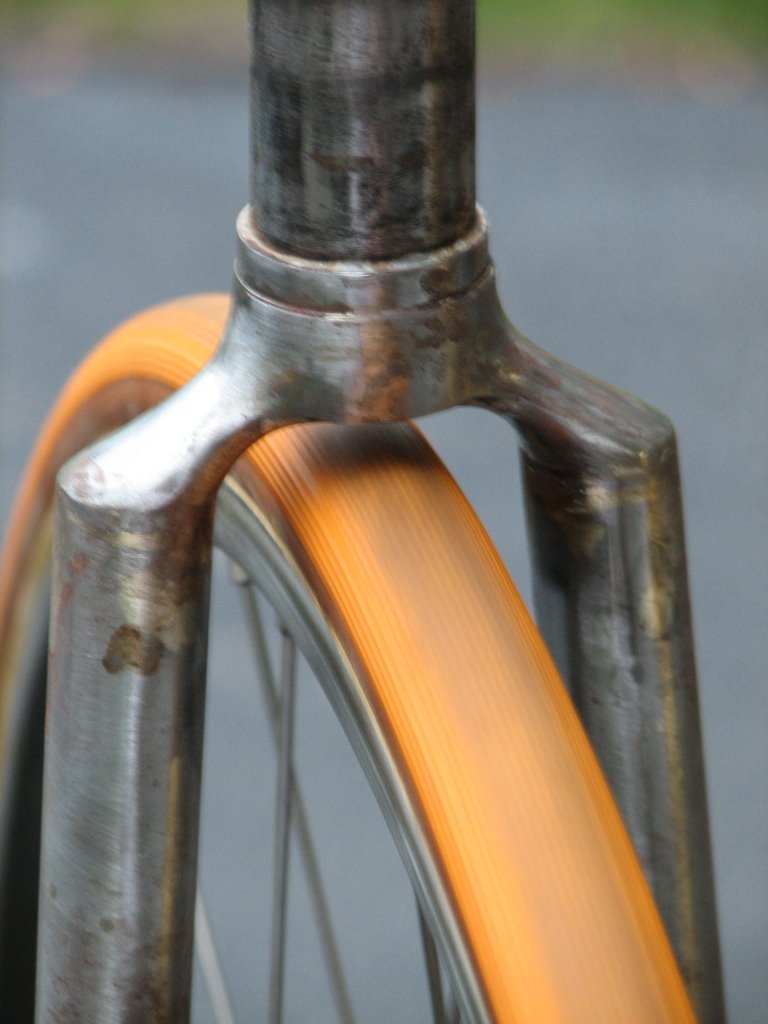
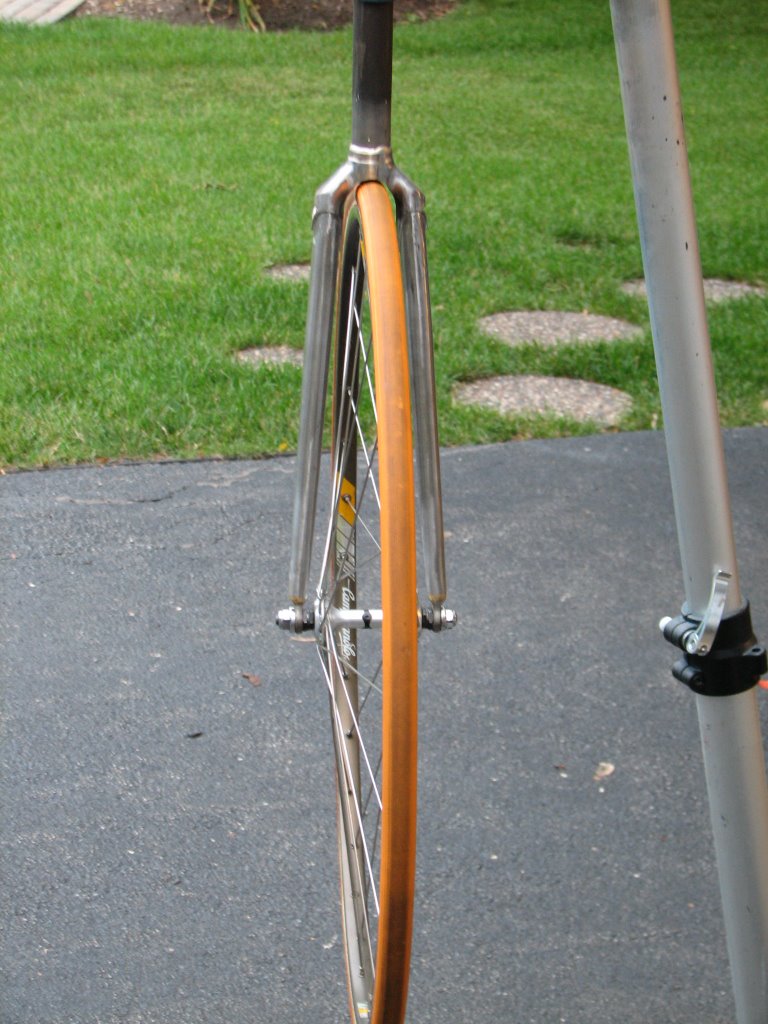
It's been a busy few weeks.Gordon is back, so Sarah's bike will be shipped this week. She's anxious to see it finished. Fair enough.So, that's freed up a little room in the shop for frame next. This is the track frame for my neighbor Aram. He's a strong rider. The frame will feature a 1.125" steerer at his request. Consequently, it has continental oval fork legs. I don't think this will hurt anything, but for traditions sake, round legs would have been nice. The blades are straight gauge 0.9mm. I've finished two forks: a) one with an internal sloping crown; b) one with an external sloping crown. The first has a 35mm rake and is planned the normal fork. The other has 41mm of rake and is to experiment and with a short (50mm) trail. Anyhow, now that they are done, and lengths are confirmed, I can lock in the rest of the geometry and start cutting tubes.One question that is about to be resolved is whether I can use a lugged bottom bracket or not. If not, I'll probably use one with chainstay lugs. Then, I'll probably drill it for the downtube. This way I can braze the joint through the interference fit between the tube and BB - probably using 56 silver. Then I'll build a filet around the tube using Filet Pro.Stay tuned for fork pictures soon.
We did the MS 150 this weekend. It was a great time. Every year I say "This is the best organized ride ever!" and every year it gets better. My sponsors raised over $2,000, my team raised raised over $80,000 and the ride overall has raised over $1.7mm. Not bad, but this is just the beginning of our fight against this devestating disease.Day 1, I only did the 35 mile route. I had my old Burley Samba tandem with the kiddie cranks, and my twins (7 years old) took turns in the stoker seat. They did great and we all had a good time. At this age, they don't provide a lot of movtive power, but the course was fairly flat. The bike probably weighs 60+ pounds by the time its ready to ride, and with 50-60 pounds of stoker, it gave me a reasonable workout.Day 2 started with rain - so Mom decided to take the kids home. I got out my Randonneur bike with fenders. BTW, one other person, with a Breezer, had fenders. As it turned out, the rain stopped before we began and the roads dried out. As long time readers know, this bike is built for comfort. With the rack, and a partially full bag (spares, tools, energy bars, rain cape, etc. I may be up to 30 pounds.Getting the kids packed and off delayed my start, so I was the 2nd to last wave to leave (8:25am) . Within a mile of the start, I cut a sidewall on my front tire and the tube went out with a loud pop. I don't generally carry cuffing material. Unfortunately, with the late start, all the mechanical support had moved forward, so I needed a SAG to the first rest stop (which was only 8 miles up the road). On the other hand, Doug Pence (official sweeper) was cool to met - he does the moto-pacing at our local velodrome.This is a well organized ride with 18 SAG vans operating, but because I was so far behind, it took forever to get a ride to the first stop. It took until 10:15 AM to get back on the road. Shortly before making the turn for the 75 mile route, a pair of young fellows passed, making me the Caboose. Part of my strategy with this bike is to spend less time in rest stops - and this strategy worked to good advantage here. I'd stop long enough to wipe my face with a wet towel, and then put it around my neck, refill my water bottles, eat 1-2 small snacks, drink a small bottle of water, and push off. In this way, along with steady pedalling, I was catching and passing people by the third stop. This continued throughout the rest of the ride, assuring a mid-pack finish.Since then, work has begun on the track frame for Aram. The steerer and fork crown are attached, and the brake boss is removed from the crown to provide a more track-like look. The crown is a Long Shen with built in rake. It's a hollow sloping crown with triangular cutouts on the sides. Fitting things up in the jig, it looks like the fork will come out at 360mm in length. This is as planned, allowing a little extra room for an oversized (more than 22mm) tire. The fork will have 41mm rake giving 50mm trail. The trail is on the short side of stable - so it should be fine, but quick handling.There's a little more polishing to do on Sarah's head tube, but its looking pretty good. It'll be done this week.And that's about it from here.The bike rode well. On the road, one doesn't feel its weight. Its a nimble handler, but steady enough that I'm comfortable putting my elbows on the brake hoods and clasping my hands together in front to tuck on the downhills at speeds in the mid-twenty miles per hour. Between the 28mm tires and the sprung saddle, I didn't have the usual day 2 sore butt.
This coming weekend I'll be riding the MS150. Most of us know someone with MS, but many of us aren't aware that we do. Your help can go a long way towards finding solutions for MS. If you can spare a few bucks, just link (on the right) to my MS site and sign up.Thanks.PS: the function that displays progress and donations seems to be corrupted on the MS site - don't pay attention to what it says. Alternately its showing only 2 donations, or combining all of this year's and last year's donations.
Never estimate something you've never done before. Sarah's bike hasn't made it to the painter yet.There is progress. The plates on the the top of the seat-stays are now polished, and look pretty good. The edges of the plates aren't as sharp as on stays that I've done without polishing. It looks like there's something more to learn about polishing to the edges without rolling them.The seat-tube is reamed and honed, and a seat post tested in it. The keyhole on the back is cut out too. Rather than use several hacksaw blades taped together, I cut the slot with a Dremel metal-cutting wheel. The wheel has sort of a bayonet mount on its shaft for quick changes. This also allows it to flex on it's shaft - so be careful and don't force it. Anyway, it produces a nice clean, quick cut. Recommended.The head-tube is milled and faced. The bottom bracket is chased and faced. And, generally, everything is done but polishing the head-tube.I started by trying to sand the larger surfaces of the tube using a palm sander, hoping that the random sanding pattern would avoid scratchs and make subsequent grits easier to do. Instead, the pattern left by the sander hid any blemishes in the surface of the tube.Practice shows that parallel strokes leave a surface that's easier to read for blemishes. Working through a grit, I use several directions of sanding before finishing with strokes parallel to the axis of the tube. Even with this trick, it can be hard to recognize deeper scratches in the surface until one gets to a level of grit that can in no way take it out. So, I've been starting with 120 grit and working my way through 220, 320, 400, 600, 1000 and 1500. Except everytime I go down 2-3 grits, I find a scratch that forces me to move backwards through the grit. Having done that several times now, I tried buffing the surface using a Dremel mop in the flex-shaft tool. The problem is that the mop is too small and its possible for the chuck to touch the tube. Ouch! Back to the 120 grit. So, my challenge now is to find a bigger mop and get the tube polished. And on to the next project.
Things have been slow on the framebuilding front.Sarah's fork is now ready for paint. The return spring holes for the cantilevers were drilled last night. The brakes fit and look good. Overall, the finish looks fine. Work on finishing the frame continues. Lug edges look good as do the filets and edges of most braze-ons. The exception is the stud for mounting the rear-brake cable pulley. There are a few file marks, scrapes and scratches that need cleaning up. Also, the stainless needs polishing. The headtube is coming along, but there are a few deep scratches (source unclear) - but these are mostly cleared out now. Sanding near the lugs takes a bit of extra work. I don't mind if a little filler shows through here, as long as it appears to be flat with the surface of the tube. It looks like another 4-5 hours of sanding and I can pack this off to Gordon. Then it's off to a track frame.Oh, I did some photos last week, but they just weren't clear enough. I'll try again this week.Cheers,