Here are some pix of the process:
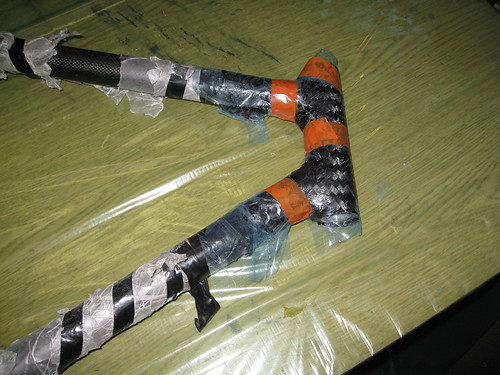
I like to make my 'pre-pregs' The CF and epoxy get wet out together in between layers of wax paper. Key to this process is working the epoxy through the fabric, and pushing out as much air as possible. Here is the last of the small reinforcements.
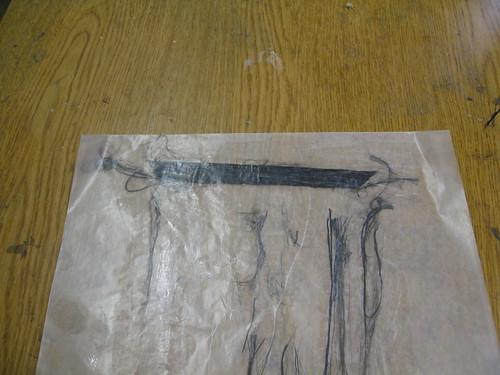
And here is a large reinforcement (made of a 4ply material)

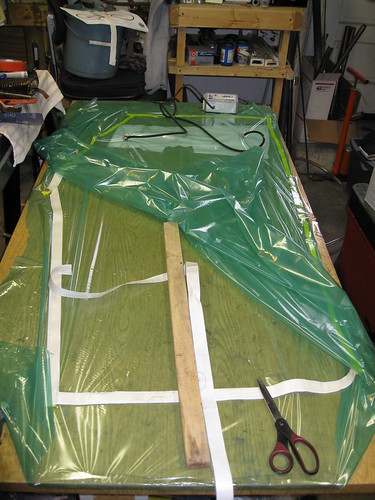
The bag starts with a piece of bagging film as long as my table and 2x as wide. This is then eyeballed to determine where I'll lay down the sealing tape.

Sealing tape is laid down to form a perimeter, with the protective cover remaining on the backside. The bag material is folded over this and the process of creating the bag begins. Releasing a bit of the tape cover at a time, the material is sealed down on the tape. The stick in the picture allows me to better control things inside the bag - sort of a third hand. You can also see the breather felt at the end. This will help transport air to the vacuum pumps, and soak up excess epoxy to keep it out of the pumps. Part of the bag itself has been treated with a mold release to keep it from sticking to the epoxy. Finally, you can see that there are two spigots attached to the bag and connected to the vacuum pumps.
The reinforcement is in place in the next picture. Much effort has gone into smoothing it out while ensuring that it is in full contact with the underlying surface. Also, there is a layer of perforated release material on top, held in place by some flash tape. Unfortunately, the release material doesn't stretch like the bag, so it has various cuts and tucks and pieces, all with the intent of keeping it smooth with the CF, so we don't create many creases in the epoxy.
This now goes into the bag, which is sealed on its last side. Then the pumps can go to work. Here is the small one which pulls about 11 inches of mercury:

And here is the large one which pulls about 28 inches of mercury.
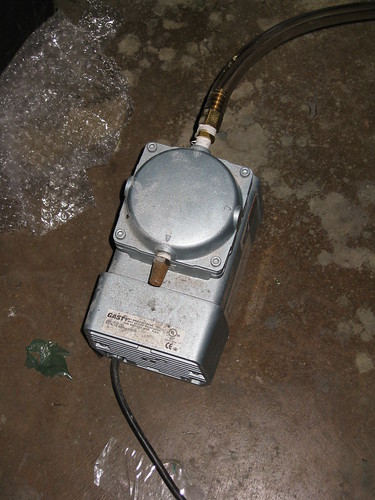
These are connected through a manifold so that neither, either, or both can run at any given time.
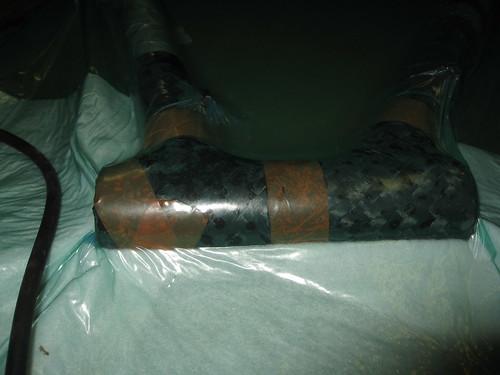
Once the vacuum starts things start to tighten right up. Here we can see some issues with around the curves of the joints, so I'll cut back the big pump and work the bag around here to smooth things out and make sure there is no air trapped.

And here is a frontal shot after resuming the vacuum:
Finally a shot of the rear triangle - you can see why I install a dummy axle during the bagging process.

Stick around, there are more pictures to come.


7 comments:
Interesting stuff. Keep us these nice posts!
very interesting.
There's a LOT of work and planning that goes into one of these frames. I didn't know it was so involved. Thanks for the posts on carbon fibre. Very interesting.
Thanks for the comments. Be patient, there will be more to come.
Nice information here today. I enjoyed taking in the post.
Nice! Have a pleasant holiday shopping season.
A joyous holiday season to all your blog readers!
Post a Comment