Sunday, March 26, 2006

Just some odds and ends

Life continues to be hectic.

Let's see... I retrieved my carbon frame, untouched, from the local paint shop. The delays didn't bother me. The excuses and misrepresentations (can I say lies?) did. So, after some research, I managed to bundle it up and dropped it off with UPS last Thursday for shipment to Gordon Lechner in S.C. Gordon was recommended by David Sem. It's a busy time of year, but its funny that not everyone contacted bothered to respond. David and Gordon did.

It was touch and go getting this out the door. A frame isn't officially in the queue until Gordon receives it (which make sense). Meanwhile things were feverish as I tried to get work sorted out so before taking the family out to California for a week. But, Carbon 1 got shipped.

Gordon explained how to build reinforcing into the box with triangles of corrugated board. These keep the sides from squishing together and position the frame to float in the box. I'm not sure how well these reinforcements will hold in place - but have some ideas percolating for other means of attaching these pieces. It'll be clear if my methods worked when I hear from Gordon.

It will be nice to see the finished product in a month or so.

PRICING:

There was an interesting thread in MTBR.com, which got me to research the archives of framebuilders and classic rendezvous.

Custom framebuilding is a broad discipline. Apart from the various uses to which a bike may be put, there are a number of different framebuilding methods and materials. So, it stands to reason that one price is probably not right for all custom framebuilding efforts.

A framebuilder should charge enough to make a living. That means covering overhead, supporting a family, planning for retirement. Even a newer framebuilder should be able to do this, and this should represent the pricing baseline.

How long should it take to build a frame? That's a big question. Get three or more builders together and they will give you three or more answers. But, it seems like a well crafted, lugged steel frame should take about 40 hours of building time. To this are added time spent on sales, administration, research & development, and customer relations. This can easily add another 30 hours to the effort. And, paint (which may be farmed out - or done by the builder) must be added on top of this.

This process can be made faster by: Welding joints instead of brazing lugs, setting up jigs to simplify and speed the sizing/fitting of various pieces, doing related work in batches, and increasing capital equipment (Drill Presses, Lathes, Mills, etc.). For some builders, 20 hours is the right length of build time pre-paint. This doesn't necessarily limit the time spent on sales, admin, R&D, and customer relations.

Some frames begin to approach works of art and naturally require additional effort. Hand cut lugs require more than the time to cut and file. The take time and effort to conceive of and refine a design. The use of jewels (precious or semi-p), totems and head-badges, and complicated paint designs all add significantly to the effort required to build a frame.

Just polishing stainless steel lugs and doodads is in incredibly time-consuming effort. It's also a bit numbing to the builders hands.

If a top-end manufactured bike costs from $2500 to $9000, why shouldn't a custom built bike cost a step beyond. Taiwan produces great bicycles. It's probably the global hub for fine bike building. The product is well engineered and well assembled and can be had for really incredible prices.

If a buyer is price sensitive, they should look to these manufactured bikes as the opportunity to have a great bike at a great price.

If the buyer wants a frame and bike tuned to their body, their riding style, and purpose, then it stands to reason that a manufactured bike isn't the way to go. But, in moving to a custom bike - one is moving to the high priced spread. It's not realistic to expect the custom builder to compete with manufactured bikes on price. Heck, the manufacturers don't compete on finish, fit, or usage.

A custom builder can be your best friend - especially if you let him/her eke out a reasonable living. A custom builder doesn't need to sell you his available stock much less his excess inventory. As good as many local bike shops are, they can't say this. Theirs is a business of turns. Do you like Campy? There's lots of reason to. For example, if you're decent with tools, you can rebuild your shifter/brake levers when necessary. Not everyone else allows for that. But, the overwhelming majority of manufactured bikes coming into the LBS are not equipped with Campy gear. Manufactured bikes have good gear and the shops knows it. So, they don't want to stock two incompatible brands - and often steer your parts purchases even when you order that special frame. This doesn't make bike shops bad - they're just trying to make a living. But its something to take into account when looking for a top end bicycle

Not everyone can afford to ride a custom handmade bike. It's a specialty purchase for folks with the motivation or means. Do you need a custom? Do you need to drive a fancy car? Probably not. But for someone who really cares about their riding experience - the custom bike will add to their enjoyment.

It's funny how much people will pay for certain production frames. These are great frames, but aren't tailored to the rider. It's also funny how, for many people, having a top end grouppo is more important that having a great frame.

Is a custom handbuilt frame right for you? You have to decide that. But, the reality is that compared to the top name manufactured frames - a custom handbuilt bike is a bargain.

Just my 2 cents.


Sunday, March 05, 2006

It's been a slow week

Not a lot to report this week. No progress on 010106 - too much "real" work going on.
Carbon 1 is still in the paint shop. Latest excuse is sick staff. The problem with that is that on the last and previous calls, they claimed they were "mixing the colors right now". My confidence level is low and I'll pull the frame if they aren't ready by Friday.

I did score some components on the web. I got a nice pair of MKS road pedals - old campy copies. As usual, the bearings need to be repacked and adjusted, but prior experience says that these will work well for a long time. And personally, I like bearings I can tune, repack, etc. I also scored some old Simplex Prestige front deraillers. They were available in lots of 1, but lots of 3 were so cheap that I couldn't resist. Anyhow, I have everything now to put together my vintage style bike. This will be built with standard size tubing using some nice Tange lugs and fork crown.

There is something irresistible about the simplicity of the Prestige front changer. There were other similar ones produced at the time, but the Prestige is what dominated the market and hence is easiest to find. The cage moves only laterally, on a rod. The works of the derailler are contained in a plastic case on the back of the seat-tube. The rod has a rack ground into it, and there is a pinion gear on a pivot, with a lever sticking down out of the case. The cable connects to this lever and pulls it one way while the return spring pushes it the other. Very simple, few parts, light, easy to manufacture, and it works. I'm not sure front derailers have progressed much since then.

I'll have a a new (used) pair of track wheels soon for a project bike I have forming up. It'll use std sized tubes with fleur de lis lugs, and a real track fork. It'll have some of Kirk P's track dropouts (the prettiest form of the current crop) with SS faces from John Kundziera in Madison (although Kirk now offers them too). Should be pretty.

Also, my next carbon tube set has arrived, this time DCS. This promises to be fun. Also, my lug vices came from Omar so I can try some carving projects.

Now, all I need is some time. Oh, and for the painter to get to work.

Cheers

Saturday, February 25, 2006

The winter of my discontent

For some reason, this has been an especially bad winter for health. I know this is true for me, but it also seems true for my friends, colleagues, and family. Right now I'm trying to recover from another bug. I've basically been on my back for the last 36 hours. URGH, I'm tired of this. Hence my discontent.

Carbon one went to the paint shop about 2 weeks ago. It was going to be ready for decals "...in a couple of days....". As of last Monday, it was to be ready "...by Friday morning..." I should probably note here that I'm trying a local garage & bodyshop. There's a good bike painter about an hour away, but his painting is part time and he's pretty backed up. So it seemed worthwhile to try and find someone who might be a little more focused in case I find some takers for my carbon frames.

The guys I chose have a real old fashioned auto shop. Their building dates back almost to the birth of automobiles. Except in the front and back doors, there are no windows - but the high doomed roof has a row of skylights. The brick walls are painted white, and the garage seems to go on and on, from the front office, the mechanical stalls, the paint booth, the bodywork stalls, and then garage's projects. The later include a couple of muscle cars, an antique Ford tow truck, the rebuilding of a used v-large (capable of pulling semi's) tow truck, and a couple undefined project cars (including an old Nash coupe).

Across from the paint booth, is a sort of a machinist shop. I say "sort of" because most of the machinery has a heavy layer of dust and doesn't seem to have been used for a while. I imagine that the right person could largely build their own body panels from scratch with the available equipment, which includes: Gas and Electric welders, a mid-sized metal lathe, an industrial drill press that must be 10-12' tall, work tables, anvils, and more.

The guys that run this garage can do just about anything imaginable with a car or truck, and tend to be fair and reasonable.

Anyhow, my frame isn't a big job for them, but I'd hoped that they would be a bit more responsive than what I've seen so far. URGH.

Frame 010106 is near to ready for paint. I've begun detail work and can have it ready with one good day's effort. But, I still have to build the fork. I'm going to start with a one built of Reynolds pre-raked blades (45mm) with a Henry James raked (3 degrees) crown. This shouldn't take too long either. So, maybe by next weekend it can go off to paint.

Next is Sarah's frame. I've decided to discard the first effort and start from scratch. There's really not much to save from that heavy (straight-gauged tubing) training exercise. Sarah is very excited about the idea of having a bike with her name on it. We're waiting for the rim and spokes. Short spokes are hard to find and our source is beginning to cut and thread their own which has lead to a delay in delivery.

Meanwhile, I just got a call from Joe. My DCS set is in. This is Dedacciai carbon tubes and lugs, allowing the frame dimensions to be customized a good bit. My question is to figure who to build this for. I can only test out so many of my frames at a time. So, I need someone else who might also pose a bit of a fitting challenge. Well, stay tuned and find out how that turns out.

That's it for now, I'm headed back to bed.

Wednesday, February 15, 2006

Order of the Metal Fork Men


What to look for on your new fork!

More Pix


Catching Up


This week has seen some progress. Carbon 1 is in the paint shop. They should call me in a day or two to apply the decals. I'm hoping to have this one built up by next weekend. It'll have a blue/yellow/red stripe - the colors of a local racing club. Carbon 1 will be built up with:
- Record rear derailer
- FSA compact front derailer
- Chorus Cassette
- Cane Creek integrated headset with tall collar
- Deda Power compact crank
- FSA Platinum Ti BB
- Cane Creek brakes with Ti hardware
- Deda Newton Stem
- Deda 215 handlebar
- Deda Super Carbon Seatpost
- Sella Itala SLR 135 w/ Ti rails
- Deda Tape (probably blue and yellow)
- Campagnolo Zonda wheels (I have some Ksyrium SL3's in reserve is the Zonda's are too heavy :) eh)
So, this should build up to a fairly competitive machine.

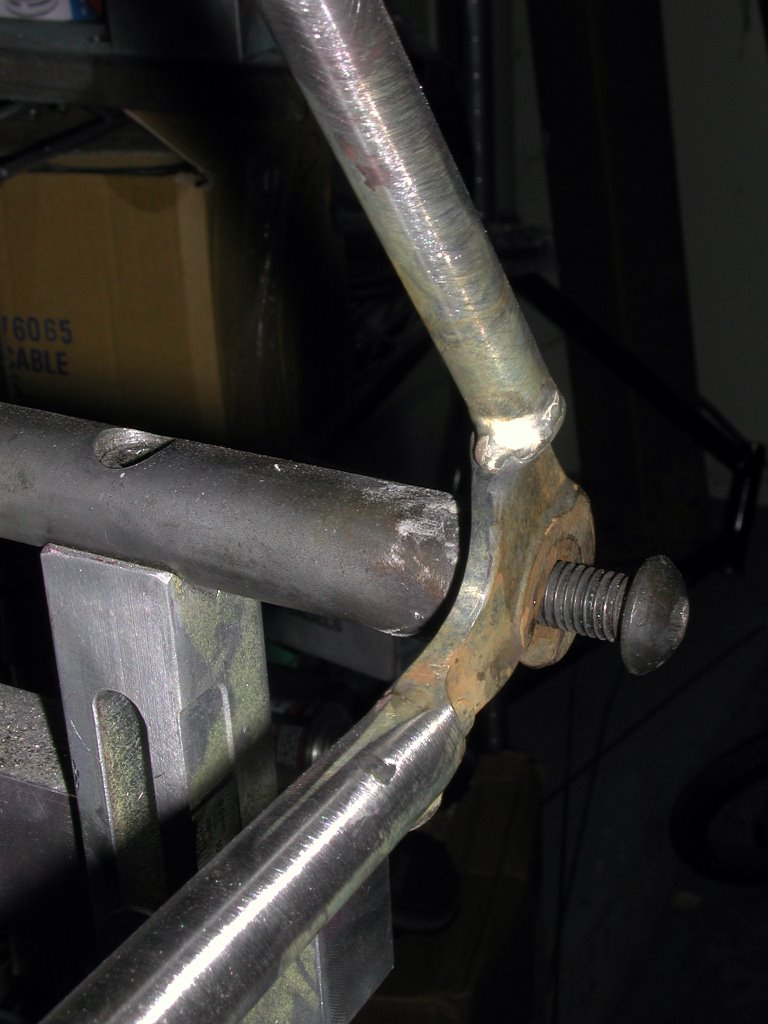
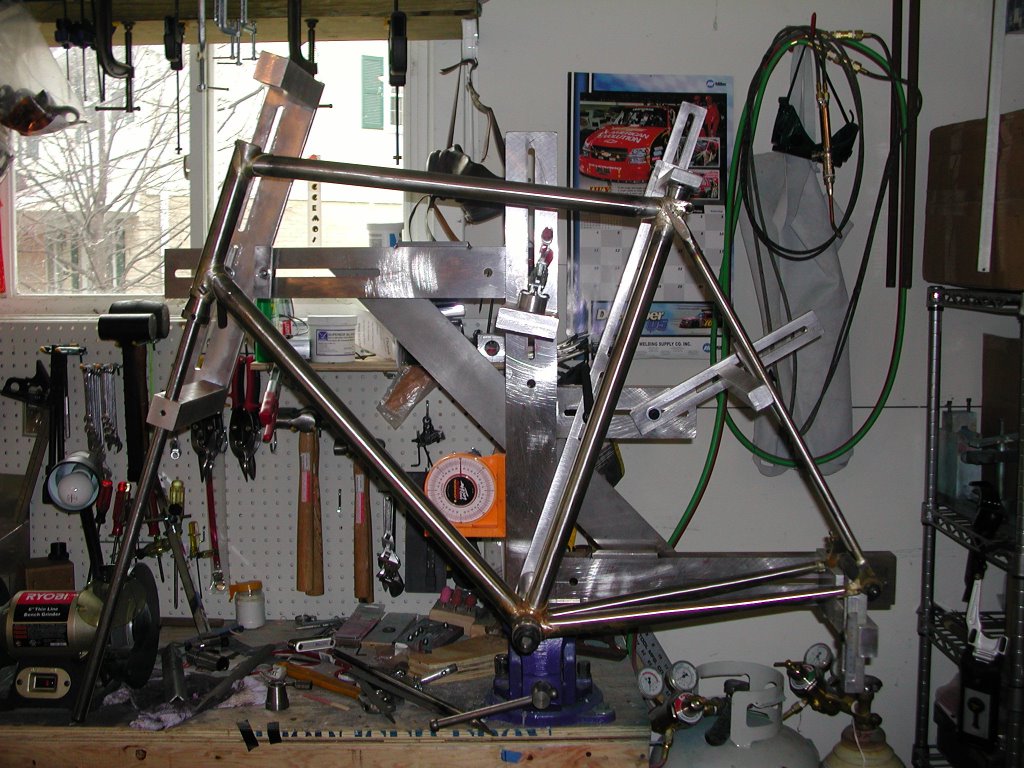
Progress continues on 010106, and some photos are included above. The first shot gives the overall look of the frame in the jig. The next couple of shots show the rear dropouts. I've started to shape them - but will finish filing after alignment/brazing/cleanup is done. I'm going for a crisp angular look.

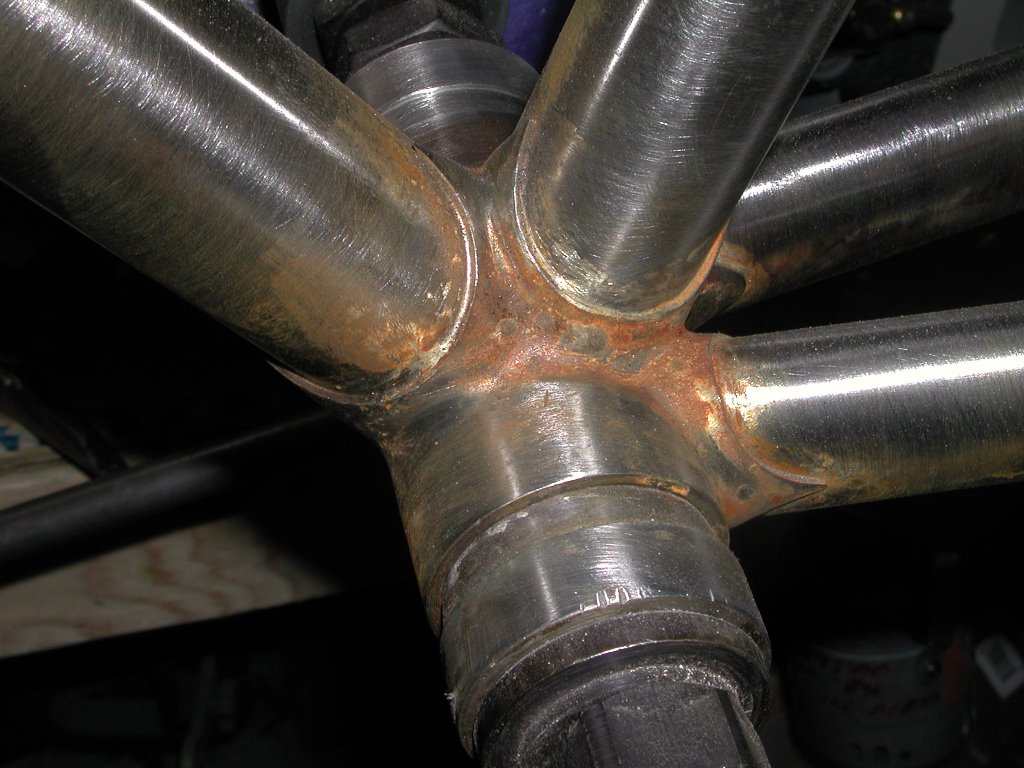
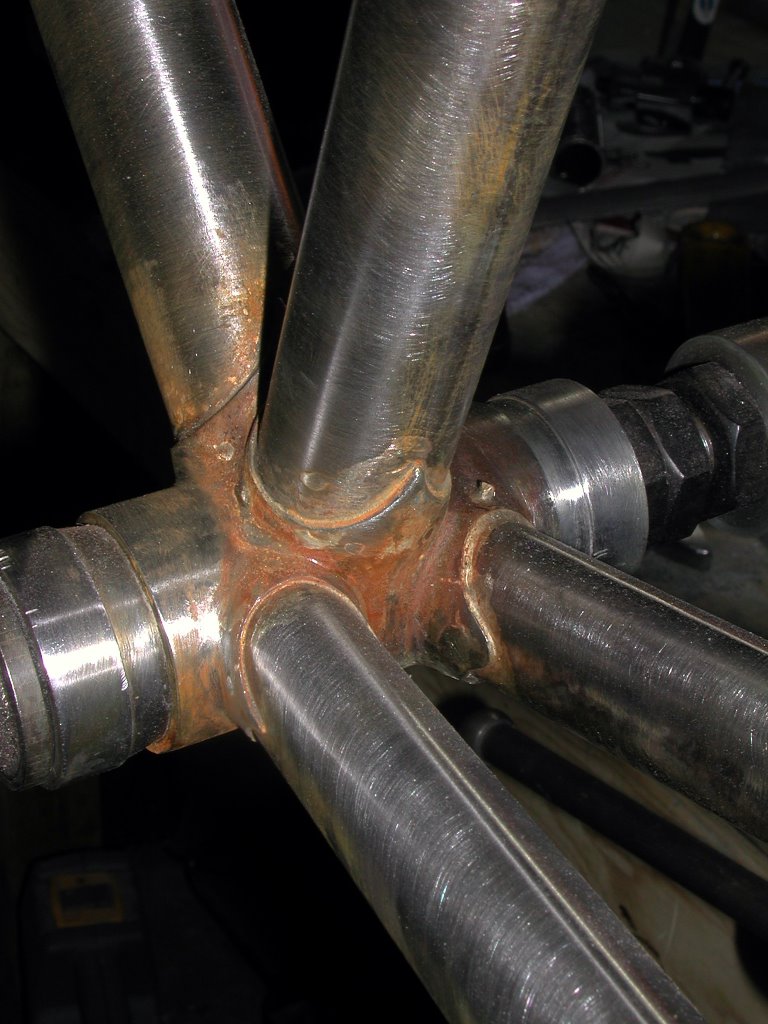
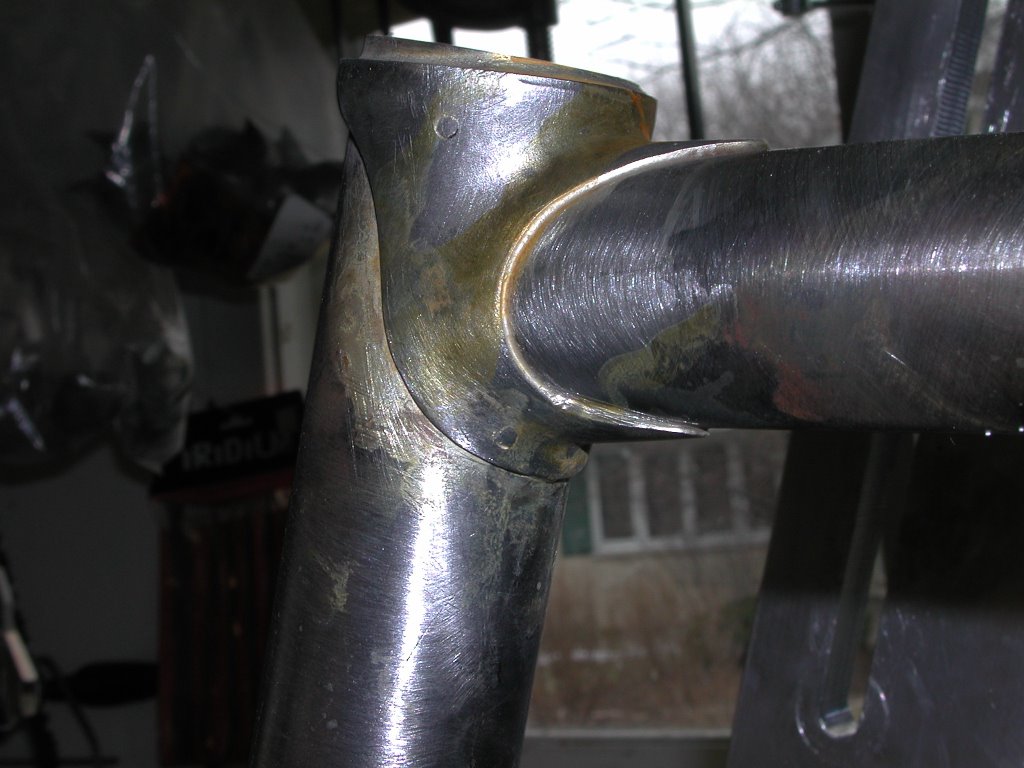
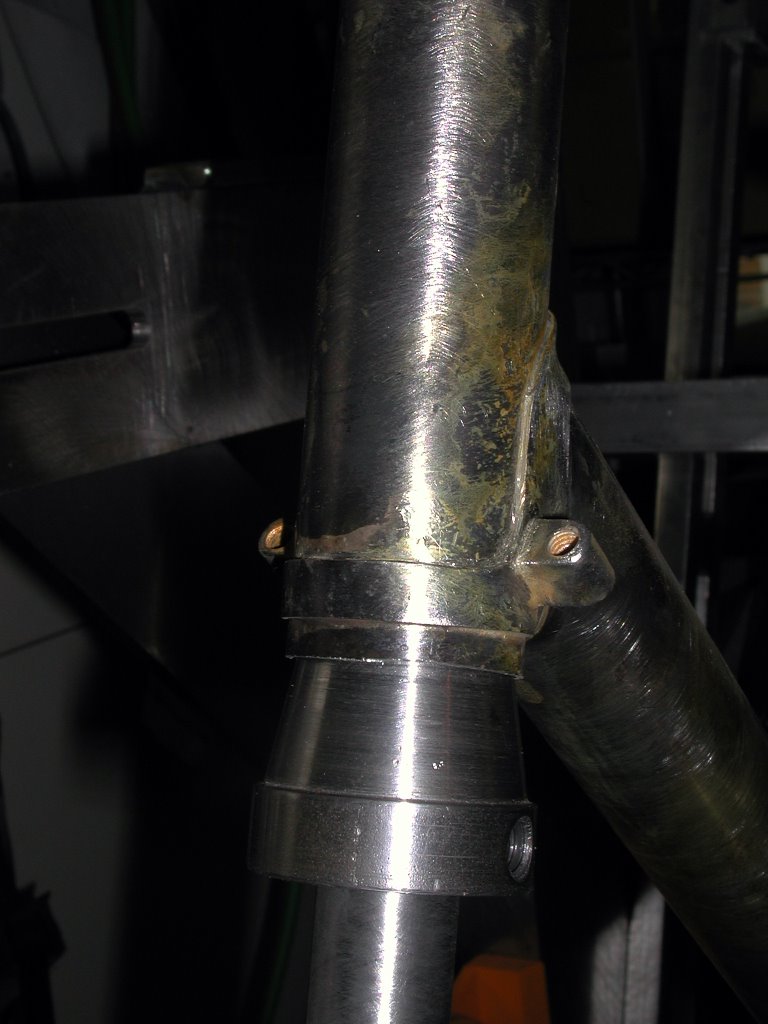
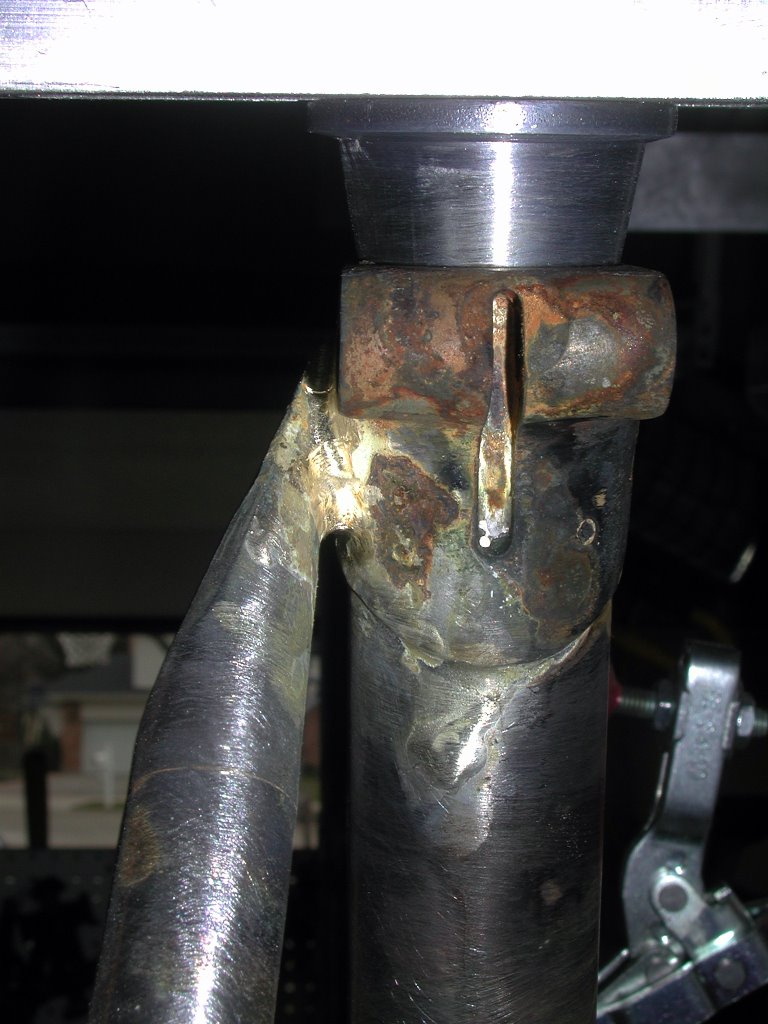
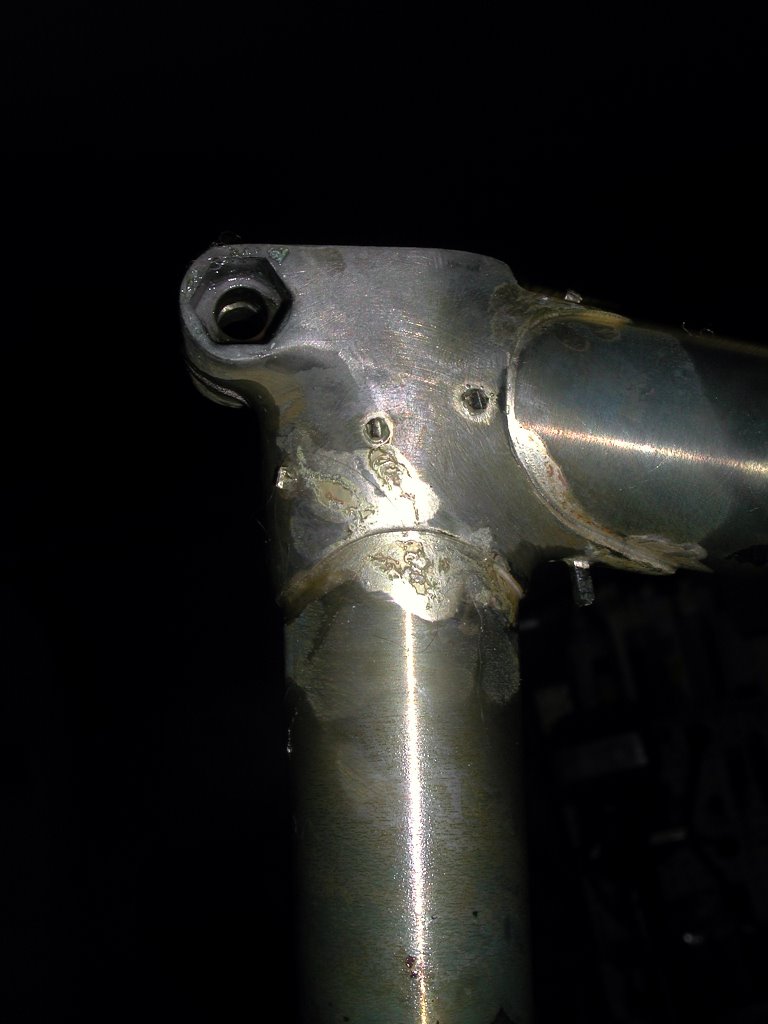
Next are some shots of the BB. This is post soaking (to remove the flux) - and clearly not all the rust has been cleaned off yet. Then there are some headtube shots, and a picture of the attachment of one seat stay.

The seat stay is a story in itself. This is the first time I've tried to use a top eye. For those who don't know, this is a solid plug of metal which is brazed into the end of the seatstay as a way of finishing it. Anyhow, I blew this first attempt.

I got the stay and plug put together and cut to length. I wanted an effect where the end of the top eye was rounded and the backside hollowed out so that it just seems to grow out of the seat lug. After working the top eye to fit like this, I fluxed up both ends and put a ring of silver into the bottom of the stay.

Unfortunately, when the stay was fluxed up, it was hard to tell which side of the top eye was which. I didn't even notice this, and apparently thought I knew which side was which. Whoops! I brazed the bottom end fine (the top was pinned to the seat lug). Then I started heating the top. As the flux became transparent, it became obvious that the stay was on backwards.

At this point, a decision had to be taken: Reheat the bottom and turn things around, or braze the top and file the top eye to a more normal profile. I don't like heating up the dropouts or stays too many times. Its easy to distribute the heat unevenly and cause a bent stay that throws alignment off. So, I chose function over esthetics. There will be another chance to produce the top eye I want.

Looking at the photo of the seat cluster, you'll see that most of the excess metal is removed from the top eye and now I can work on creating a nice flat taper. I used silver to attach the stay to the seat lug. Some people recommend against this, but I flow 56 silver right where the top eye and lug touch, then use Fred Parr's special filet silver to build up around that. So far, this is a winning combination - no problems.

The macro photo with flash hide nothing. Believe me when I say the edge (which isn't yet done) of the joint looks much better in real life. I think this is going to end up being a very attractive joint yet.

The other point of interest is that my joints are requiring little cleanup - after flux cleanup they have nice crisp edges. This is a point that required practice and experience to achieve. I'm not perfect yet, but I'm pleased with my progress.

Well, that's it for now. More soon.


Monday, February 13, 2006

Carbon to Paint

Carbon 1 is off to paint. This weekend, the remaining fittings were installed, and everything sanded down. All looks good, so now its off to paint. I have several local painter leads, and will start interviewing this afternoon. Hopefully, it will be in the paint shop by Wednesday, and back in my hands in a week or so. It's going to be fun building this one up and seeing what kind of reaction it gets from people.

I recently purchased a bench mount Park stand. It's a sturdy piece, but not top of the line. The arm engages in sort of a conical nylon sleeve bearing. I asked Joe B. to make me a mount for my jig that allows it to be connected to a Park stand. Unfortunately, his stand (the pro model) is different from mine.

Well, he sent me a piece to try - and it has me optimistic. I'll send it back for some more work, but it looks like he can duplicate the taper of the cone and then I can directly thread it onto the Park stand. At that point, the jig will mount onto this and be capable of be spun upside down - which should be very handy.

This week I hope to get 010106 finished off. It needs seat stays and some small bits, then it can go to the painter too! So then it will be on to Sarah's frame. Hopefully I can put this together pretty quickly as she's feel impatient with Daddy and the time he's taken. That reminds me, I have to call Gaerlan to see where my wheel parts are. When this is done, I'll probably have to start her twin brother bike, and then one for their older brother. All and all this should keep me busy for a while - but Joe will be shipping me a DCS carbon kit very soon so that will need to be completed too. So much to do and so little time. Anyhow, more pictures soon.

Monday, January 30, 2006

Busy Weekend

Well, I had showings both Saturday and Sunday as well as a Sunday open-house. Still I managed some good progress on 010106.

The front triangle is finished except for some sanding. It looks good and straight. The BB went much better than in the past - in part because it's much easier to do a really good job of pinning the joints in a jig. Everything is held securely in place while setting the pins, so there's no risk to setting the pins firmly. One tube in the BB needed some touchup work. All the joints flowed through nicely, but the one flowed a little too much and left a slight gap at the edge where I was feeding the silver. That's taken care of now.

Very little cleanup filing was required - mostly just the pins on the inside and outside of the tubes. The angles and BB height all checked out fine, so I moved onto the chainstays. They're going to be fairly long (430mm). The first one went in great, but the second one seems to have got a little out of alignment - and needs some additional work. I think I'll drill out the pins, reheat the joint and reposition the stay. Hopefully I won't need to do any further cosmetic fill when this is done. I could probably just cold set things, but I don't want to go that route.

Reynolds is shipping me some pre-bent fork blades which should be here soon. Probably a pair of these will be coupled with a HJ fork crown with a built-in 3 degree rake. I'll make up two forks resulting to different trail figures to see how each works.

That's it for now. Time to swap back to Carbon 1 and get it done and out the door.

Cheers

Friday, January 27, 2006

Need some more pictures of the final product


I can see that while these are clipped and have had the flux soaked off, I don't have any pictures showing the lugs after filing off the pins. Maybe tomorrow.

If you're curious about what's happened to Carbon 1, its an issue of running out of epoxy. I like how the filets are building up at the joints. While this is non-structural, I want to complete this process to get the nicest possible finish - but the epoxy ran out. Should have some tomorrow - so then back to Carbon 1

Some post-clean-up pix


Clean-up primarily consisted of clipping the pins, and then filing them down both inside and outside the lug.

Here we are post-clipping.