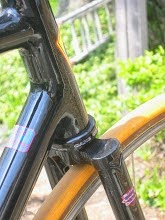
I've managed to exceed my talents as a painter!
The attempt at lug-lines with a paint-pen was a failure because it left way too thick a line. This was my first example of not leaving well enough alone.
Before doing anymore painting, I reamed and faced the headtube (cyclus tool - cuts great). Then I gave a 1st ream to the seat tube and cut it's slot. The first ream was to 27.0mm, but after cutting the slot, a 27.2 post went in a way. I clamped the post over night, and now it's snug on the 27.2. So, I'll ream it to full diameter soon. As a side note, I bought an adjustable reamer (size I?) that goes from about 27.0 to 30.0mm from Enco. It's made in India (they have to eat too, but I'd feel better about buying American), so it only cost $16.95 (which is why I could buy one now). It takes some fiddling to set to the right diameter - but it cuts great! I couldn't be happier with it as a tool - which is not my usual reaction when using cheap tools from Asia. Along with my cheap India files, its on my keeper list.
My second example of not leaving well enough alone was to try correcting the too thick lug lines by spraying over them. It hadn't occurred to me that the clear coat would be a problem, but removing the masking tape lifted some of the clear coat and damaged the paint underneath. In retrospect, I probably should have scuffed the paint before applying clear coat for a better bond. And, I probably should have tried to sand down the clearcoat before masking and spraying.
Anyhow, I've done some very selective touch up since then. Now I'm sanding down the edges of layers where peeling occurred. Once these are smooth I can try finishing with clear coat and be done with it. If this doesn't work, I'll probably have to try having the frame bead-blasted and repainting from scratch (which might end up looking pretty good if I chose not to repeat the mistakes from this go around). I have my fingers crossed.
In a related note, he Rustoleum clear needed to go on thick to dry down smooth. However, it was very sensitive to the distance between can and surface. So, on a round tube, the face would dry smooth, but the edges would feel rough. This was true even if one worked up and down around the tube so it was all wet at once - the last stroke would be smooth in the middle and rough on the edges.
When the store was out of Rustoleum clear I tried some Ace Hardware clear. This goes on thinner (and the can creates a finer mist), but seems to dry smooth all the way around. I'm a convert.
That's it for now. Hope to be on the road soon.
Saturday, September 24, 2005


Wednesday, September 21, 2005
Here's a sneak peek
I took a few pictures this morning, but they didn't come out real well. They're be more when I have the bike finished. At present, it seems likely that I'll be ready to assemble the everything this weekend.
Recent Sighting!
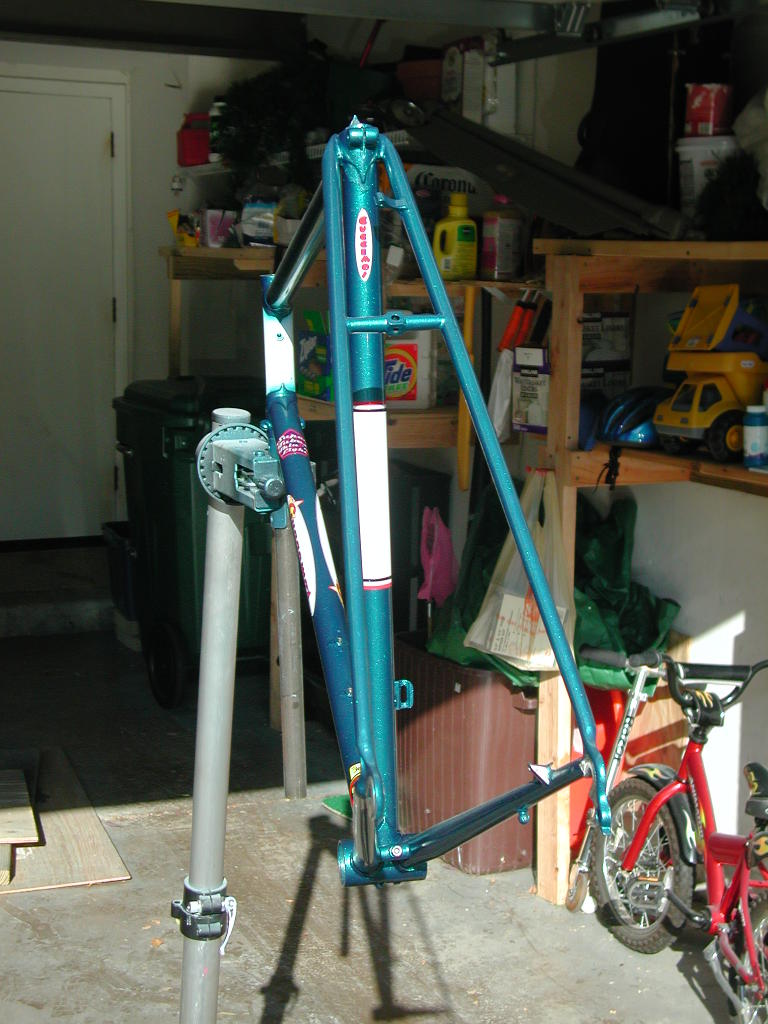
 Our Spy Cameras have been hard at work! Here's an unconfirmed sighting of frame #090105. Looks like it's close to ready for the road. We'll share more info when we get it.
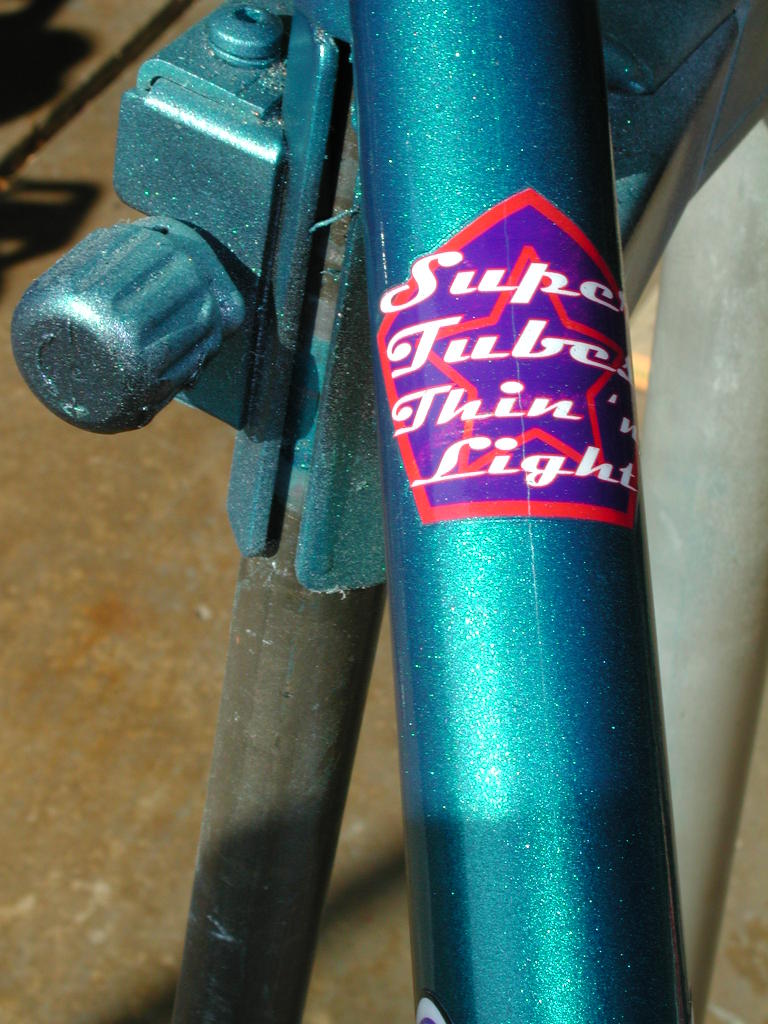
Can you tell who the builder is?
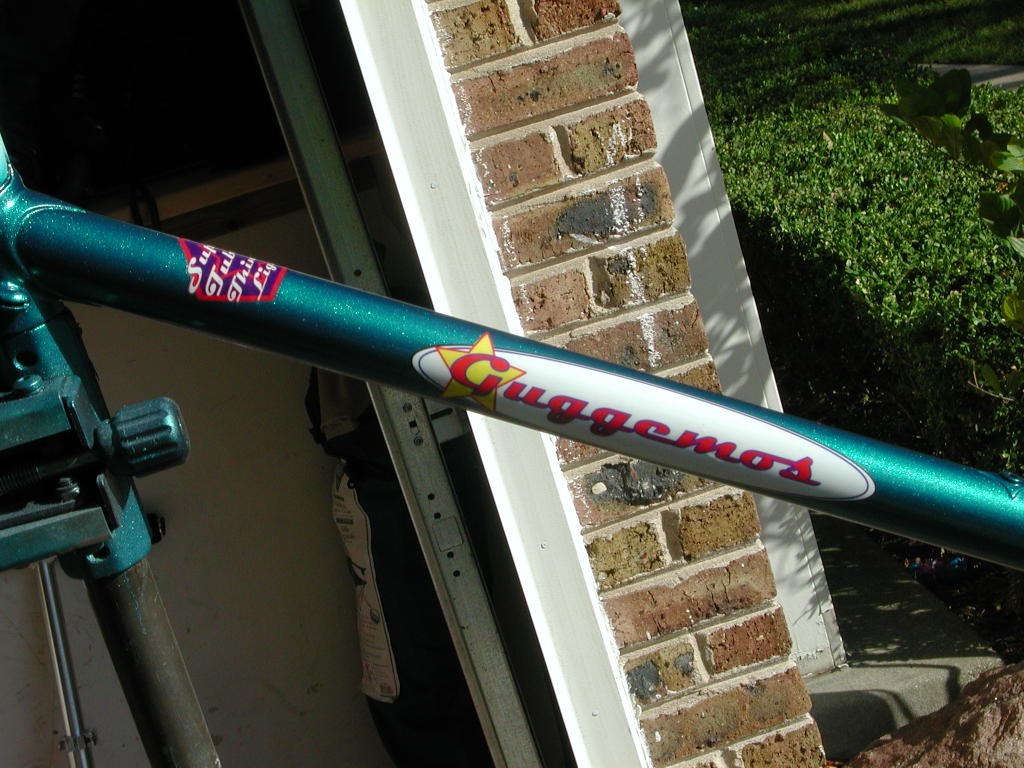
This was to be a one-time set of decals, but I like them well enough that I may have AJ print up some more.
Not done yet
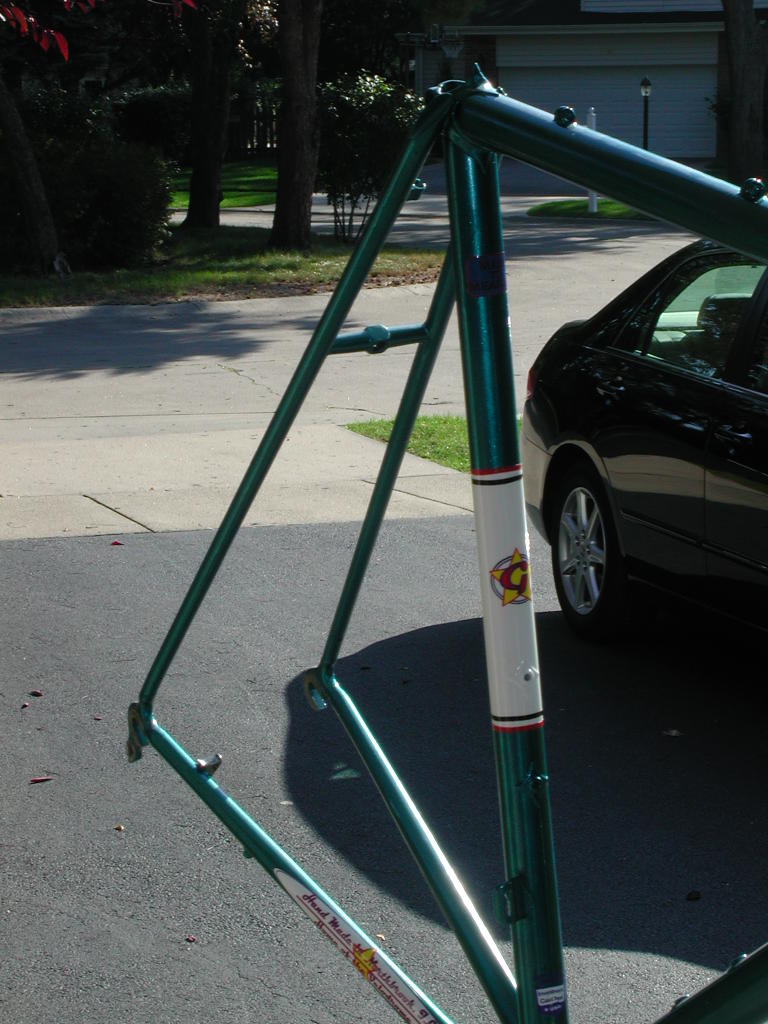
Seat and Head Tube still need to be machined. Headtube resprayed, and clearcoat sanded smooth.
Monday, September 19, 2005
Nothing like the smell of VOCs
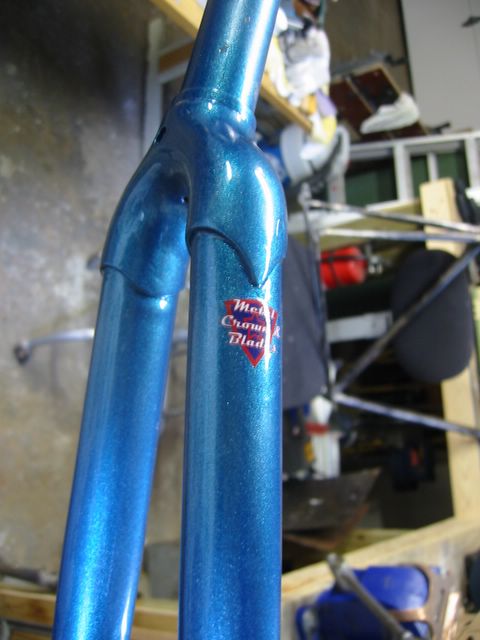
The fork is almost done....just need to polish the SS tips. I've used a set of proof decals for which I haven't asked AJ to make a production version. This is because the colors worked the best with the paint I chose. Maybe someday I'll have him make me up a set of these. BTW..... I love AJ's decals. They look beautiful. And, they seem tough and stable. Not to complain, but some (especially old ones) seem to tear easily - that's not a problem with AJ's. Plus he's nice to work with. Highly recommended.
I got the frame sprayed out since the last post. It looked pretty good, with a white headtube and white panel on the seat tube. I also probably made every possible painting mistake in the book. So, it was a learning experience.
One thing that I tried was outlining the lugs using a paint pen. It seemed like a good idea in theory - being a bit easier to control a stiff tip than the flexible tip of a brush. In reality - it laid down thick lines which got thicker after they setup. Ugh! Meanwhile, I have a coat of clearcoat on most of the frame and it looks pretty good - even in daylight.
As a result, I resprayed the head and set lugs. After things cure well, I'll go mask the headtube again and respray it white.
The paint I've been using is Rustoleum. The base is a metallic finish. It and the clearcoat share some characteristics. 1) They have to go on wet to end up with a smooth surface. 2) They tend to resist runs, and even when there are runs - they often smooth out as they dry. 3) The can atomizes pretty well and has a well defined spray pattern. The white paint is very different. 1) It seems to come out wetter - it needs to be held farther back to avoid runs (which in places like the underside of the seat cluster could be tough). 2) It doesn't seem to atomize well - parts of the spray are a mist and parts are drops of paint. 3) The spray pattern is very broad. As a result, using the white adds significantly to the complexity of completing the job.
Other things I've learned.... 1) With any of the paints (metallic, white, clear) there is a distinct physical line at the point of any masking. Be prepared to sand it away. 2) It's easier to work on the white (touch up, apply decals, etc) even after a couple of days of curing if a coat of clear is put on top and allowed to sit for a day. 3) The angle of the spray and distance to the work seem to determine how "visible" the metal flakes are in the metallic paint. If one isn't consistent, its possible to have places that look more silvery and others that look more like the base color. If this happens where there was masking, or a partial respray, there can even be a distracting boarder between these colors. 4) Blue 3M masking tape works like a charm - sealing well and pulling off easily. 5) My breathing filter (from Fred Parr) takes all of the odor out of my work. It's probably not even close to as healthy as using a fresh air supply, but its doing something.
Beyond paint, I've trimmed the head tube down to the lugs. I started with a rotary file, moved to 12" bastard, then a 10" 2nd cut. Everything looks read to face and ream. I ordered an adjustable reamer from Enco for use on the seat tube. It's cheap ($16.95) so probably won't last long - but I want to see how it does. Now that the BB is chased, I'll take the rotary file and remove excess silver from the bottom in the area between the threads. Then I'll chase out the paint and final face the BB. I still have to cut the slit in the seat tube, and polish up the dropout faces - but, we're getting close to mounting parts - I'd say within a week.
Cheers,
Friday, September 16, 2005
Let's Get Forked!
Now you have a dribble of pictures of recent bits.
I've started painting my first fork (which is imperfect but aligned). It looks much better with paint on - despite being straight legged.
I used a different method to apply the rust converter than with my frame. Converter was applied to a terry cloth which was used to rub down the fork. This ended up with a nice, thin, even coat after it was done converting and dried off. Yahoo!
A light sanding followed by wipe-down with a degreaser/thinner. Then a couple of coats of grey primer. At first, the primer was close enough in color to the bare fork that it was hard to see. Time for a lighting adjustment. Ahhhh!
Wait 30 mins. Then a light sanding with some Scotch Brite (equivalent to about a 0 grade steel wool). Wiped this with a tack cloth. Wiped with degreaser/thinner. Sprayed the blue (more on this in prior post). Things are definitely starting to look better.
Yesterday I lightly wet sanded the fork with 600 grit. Wiped it down with the tack cloth. Then started to spray clear over. So far, it has two coats. So far, the clear needs to go on liquid even more than the color, but its also more likely to run. I have one small run on the crown. Next will be to sand that out, clean and try to build up a couple more coats (I can still fill the edge of the decals). Then it'll be a 1500 grit cleanup.
Already, the clear coat is doing its thing and really sets things off. I wouldn't have believed it if I hadn't seen it, but I'm getting a nice finish with a rattle can. Very cool. Bet you can't tell I'm excited.
Meanwhile, most of the excess converter has been sanded off of the frame. Two thin coats of converter have been applied. Tonight, I hope to prime the frame out.
Yesterday, I tried to chase the BB Threads. The left side wouldn't go. UGH! Way too much excess silver on that side. I had to heat things up and get the silver out of the way. After it all cooled down, the left side cut clean. BTW, I'm very pleased with my Cyclus tools.
That's about it for now. I may be riding soon.
Cheers,
Rick
Subscribe to:
Posts (Atom)