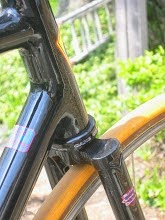
I selected some blue metallic paint for frame #1. I'd probably call it Teal, its not turquoise, but it has a bit of green in it.
Last night I cleaned fork #1 (straight legs, 62mm rake) and shot a couple of coats of primer and then a couple of coats of color. Generally, it was easier than I expected (it's been a long time since I've sprayed paint - the product is improved). As it set up, the color turned out to be very close to that of my first good bike, a '71 PX10E. Maybe that was Freudian, eh?
It takes a wet coat to get a smooth surface and good color (not having the metallic flakes stand out too much on the surface).
The can indicated full cure in 30 minutes - which didn't seem reasonable. After an hour, I tried placing my first fork decal. Two lessons: 1) let the paint set at least overnight; 2) trim close to the decal before applying. The cover sheet has an adhesive backing. If this touches paint that isn't completely (all the way through) cured, lifting the backing will lift the paint too. It appears that this adhesive doesn't go over the decal itself - so by trimming close to the decal, there is much less adhesive to grab the paint.
Net, I have one leg with a well applied decal and one where the decal is alright but the paint near one side is bad. Hopefully, if allowed to sit, I can sand out the booger, mask the decal and respray to good results.
This is a rattle can job, so I'm not going to be compulsive about it, but would like to minimize the dodos.
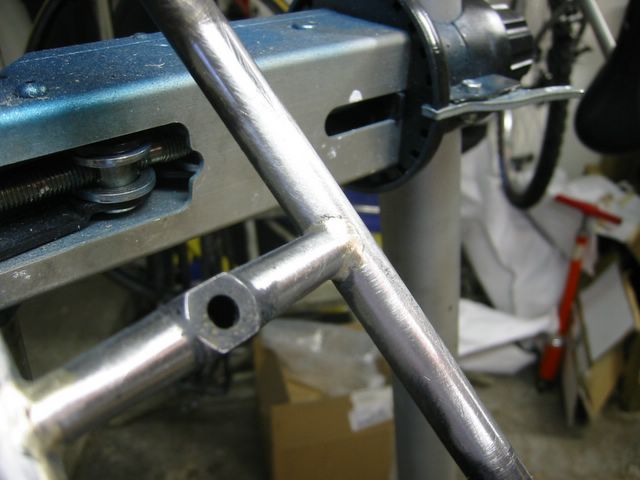
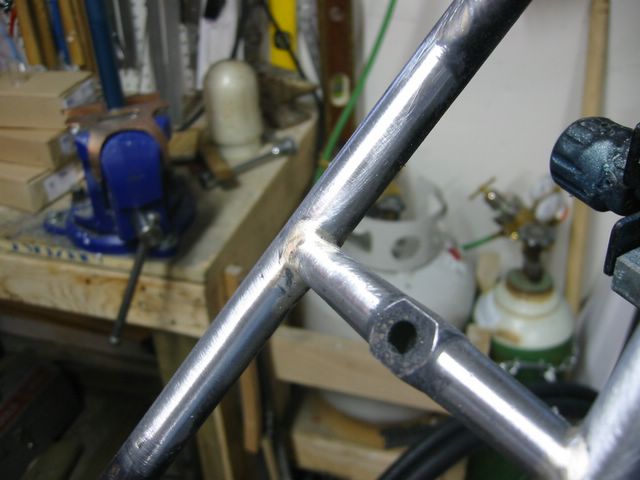
Anyhow, I'll get some pictures of some joints on the frame and some of the painted fork and get them posted soon.
It's been a busy week, just not in the shop or on the bike.
Got a little shop time today, and then out on the bike for 2.5 hours.
I've decided that I'm not going to have the current frame painted - I'll just rattle can it.
This frame is loads better than the first, and I would have it painted, but, in aligning the rear and getting the drop outs in phase, the right chainstay developed a slight bend towards the end. A lot of people might not notice it, but a framebuilder would see it straight away.
So, this bike will be a test mule for my retro-french inspired geometry. I'll ride it and evaluate the handling with two different forks of differing rakes.
Towards these ends, much of the frame is now sanded and filed. There's still work to do, however, and its been humid lately. So, I decided to apply a rust converter to the finished areas. Mind you, I like Picklex - but it costs about $100 a gallon so something useable and cheaper seemed in order. Well, after brushing out the converter this morning, the first thing that was obvious is that there were a few thin spots. The second thing that become obvious is that as the rust (that I couldn't see) and the converter reacted, much of the coating became thick. Hmmm, I can't seem to apply it thinner and get coverage, but it's too thick to paint over without sanding. And, if I sand it, the converter won't protect against rust under the paint. Urgh!!! Maybe $100 a gall0n isn't so bad. :)
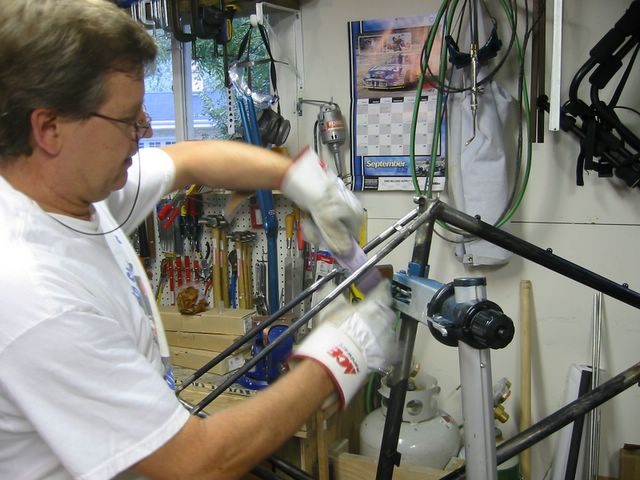
I finished filing my first fork (the straight legged one). Even though I don't think that straight legs look good, I decided to thin the outer edges of the crown. There's something that I find statisfying about using a sharp, fine, file. It feels almost like a good plane going through wood. You can almost feel the action and control the cut without looking (well for a moment anyway). The faces of the tips need to be polished (stainless steel you know), and the converter sanded, and then I can spray out the primer.
I've broken down and ordered a Bringheli frame jig (did I mention this already?). And I ordered a 1" diameter Cyclus front end kit. I couldn't afford any other brand, but have been very satisfied with my other Cyclus tools. Included are the crown-race cutter, head tube reamer facer, crown race setter, head cup setter, crown race remover, head cup remover. Not bad for $379, eh? Once the paint job is done, I'll be ready to face and chase and get everything assembled.
Speaking of everything, I was having some problems double checking the fork alignment with my new wheel. It read differently depending on which way it was faced in the fork. So, I tried one off my current road bike - which looked great in the fork from both directions. So, the new wheel went off to the shop to have its dish checked.
By next weekend I hope to be priming. another week or so and I can be test riding. Yeah. By the end of October I should have my new jig - so I'll be able to make nice straight rear-triangles. And then I'll start my first frame that will go to the frame painter. Maybe by Christmas? Of course, all the time spent trying to work the rear without a jig really added up. Maybe by Thanksgiving? Hmmm.
I made a few other purchases in the last week. These were my first from Kirk Pacenti. He was very nice on the phone, and the PO delivered today (2 days later). I wanted one of his BB's to try with my Nevex lugs. Also, I like his track dropouts which have a triangular hole in them like a traditional horizontal DO. Most of the track DOs (at least those cut from plate) are without the hole and look less graceful not to mention heavy. So, now I have some nice ones to work with. I'll put some SS faces on them before assembly - they'll dress up nicely.
Kirk recently offered some NOS Columbus tubing. I thought about it at the time and passed, but then he posted that some customers hadn't come through with the money to close. So, I bought a set of SL size A (which I guess stands for small). This is a full set, incluidng steerer and pre-raked fork blades. It comes in the original box, which I'm going to save even thought the end flaps are long missing. Meanwhile, I ordered some SL decals from eBay (the originals were also long missing from the set). Then I'll use this set to make a frame for my wife, who in no way will tax SL.
The holiday weekend is over - it was a good one. I got in a couple of nice rides - we had great weather. We had some family fun (closed the cul-de-sac so all the little kids could practice riding in circles, played mini-golf, etc.). And I got some more work done on the frame.
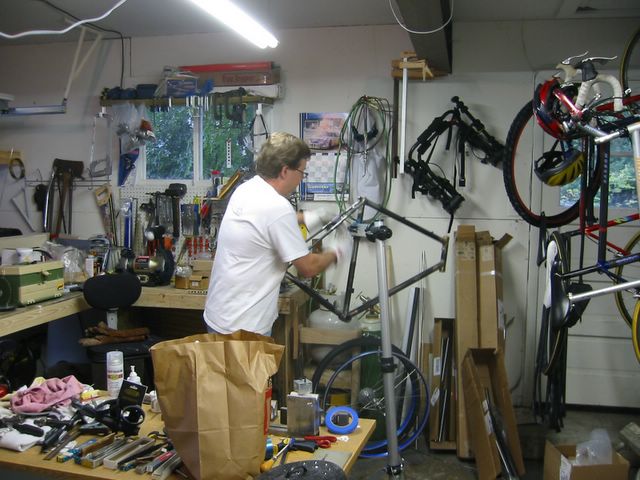
A while back I purchased 100 Simonds and Grobe files on eBay. At the time I figured to cherry pick and then resell the remaining on eBay. It turned out that there were a variety of neat and unusual files in the mix. Knowing how files go dull, and how useful these files could be for framebuilding, I decided to keep the lot. This weekend was the opportunity to start using them.
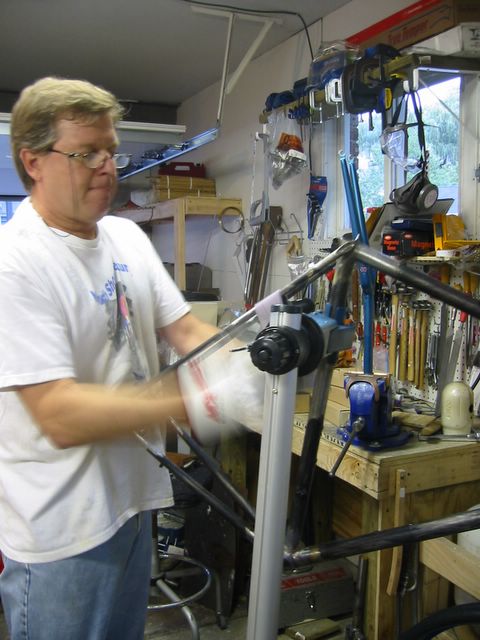
The pump peg now seems to be properly positioned with a nice filet around it. I cleaned up the filets around the chainstay bridge and the brake bridge. On side of each only needed to be sanded (I'll have to add some pictures soon) because the filets were spot on. Then it was on to the bottom bracket for some file work on the edges of the spigots. Finally, I filed down the plate on my the top of my left seat stay. It's a pretty close match to the right seatstay. I also filed the filets on both sides to better match each other.
Overall things are looking good. However, I'm not happy with my left chainstay. I cold set it and now it has a slight bend to it. I suspect that this is only a cosmetic issue, but I don't like how it looks. So, now I have to decide whether to replace it or not. Hmmm.